Deploy your web-app using Azure container instances
Introduction:
Hello and welcome to this tutorial. In this tutorial I’ll teach you how to deploy your container image using Azure container registry and Azure container instances. Pre-requisites for this tutorial are to have basic knowledge of docker and Kubernetes, Microsoft Azure account with credits which you can get from this link and azure cli installed. In this tutorial let’s learn how to deploy normal html, CSS, JavaScript pages and then move on to a simple react website. So, without wasting much time let’s move onto the tutorial.
What is the Azure container registry?
Azure Container Registry is a managed Docker registry service based on the open-source Docker Registry 2.0. Container Registry is private, hosted in Azure, and allows you to build, store, and manage images for all types of container deployments. In simple words it’s a private registry similar to docker hub. Docker hub is an open-source registry where anyone can put their images but this is private where only you can access.
What is an Azure container instance?
Azure Container Instances (ACI) offers the fastest and simplest way to run a container in Azure, without having to manage any virtual machines and without having to adopt a higher-level service. Azure Container Instances (ACI) is a great solution for any scenario that can operate in isolated containers, including simple applications, task automation, and build jobs. Benefits of using ACI’s is that you can deploy your container image without writing any YAML file of without maintaining any VMs and stuff. ACI will do everything for you. It allocates resources, networking, storage and much more.
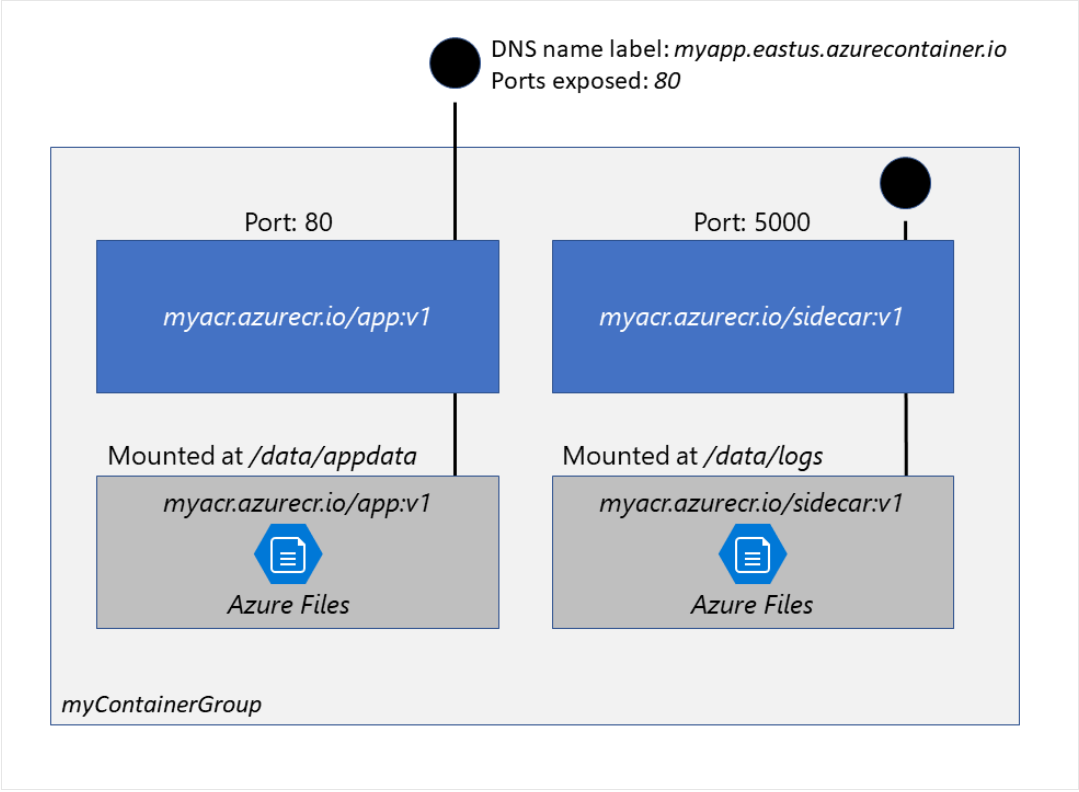
The top-level resource in Azure Container Instances is the container group. A container group is a collection of containers that get scheduled on the same host machine. The containers in a container group share a lifecycle, resources, local network, and storage volumes.
Without further delay let’s get hands on:
The steps we are going to follow are:
1) Create an Azure resource group.
2) Create an Azure container registry.
3) Create a docker file.
4) Build an image and push it to azure container registry.
5) Deploy container instance to ACI.
Step 1: Create an Azure resource group:
Before creating container instances and container registry we shall create resource group because whatever we create next will be in this group and when you don't want those resources any more then if you just delete this group then all resources will be deleted.
The following command will create an resource group:
az group create --name tutorial --location eastus
Step 2: Create an Azure container registry:
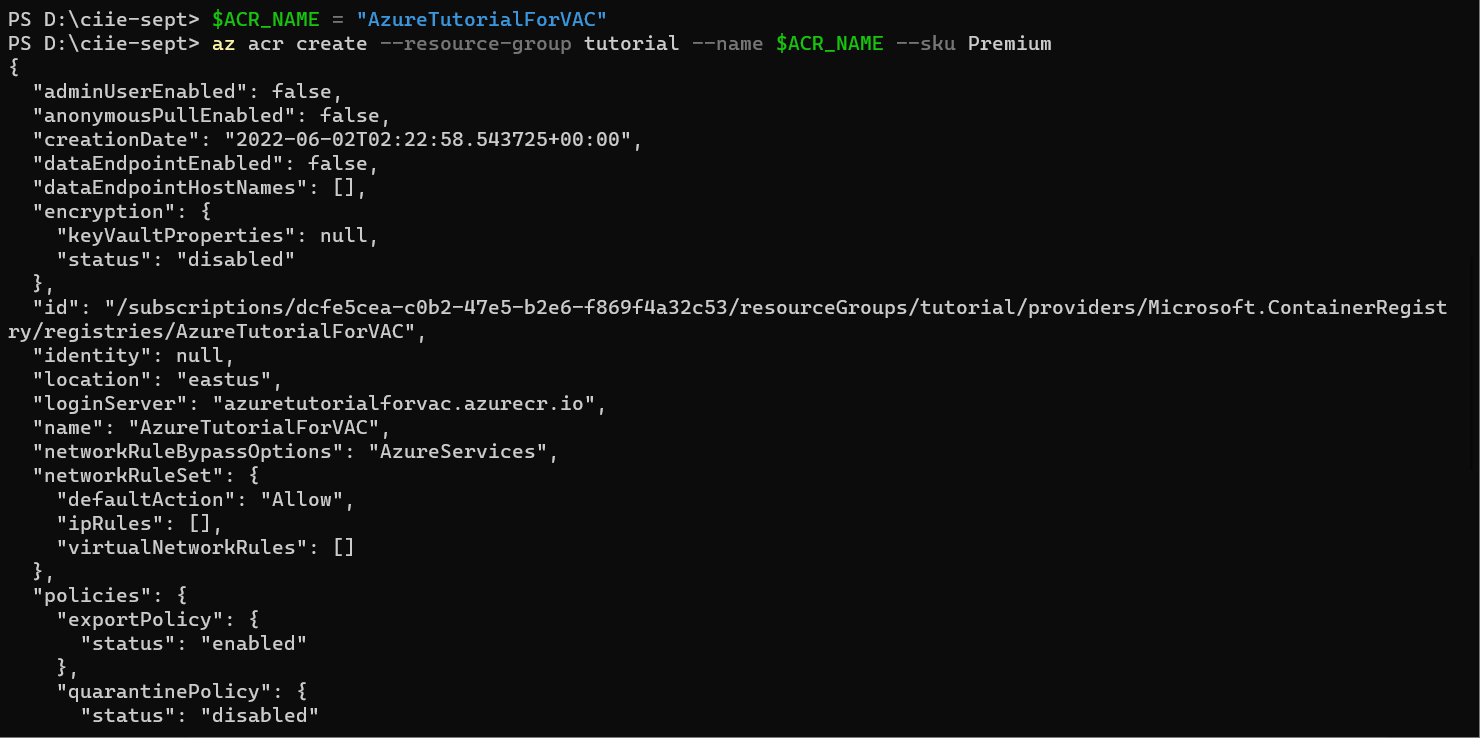
Let's have an variable for registry name because we don't need to type that again and again because we will be using many times in this tutorial.
$ACR_NAME = "AzureTutorialForVAC"
The following command will help you in creating container registry:
az acr create --resource-group tutorial --name $ACR_NAME --sku Premium
The sku denotes various service tiers provided by azure. There are three types Basic, Standard, Premium. To know more about you can check this link.
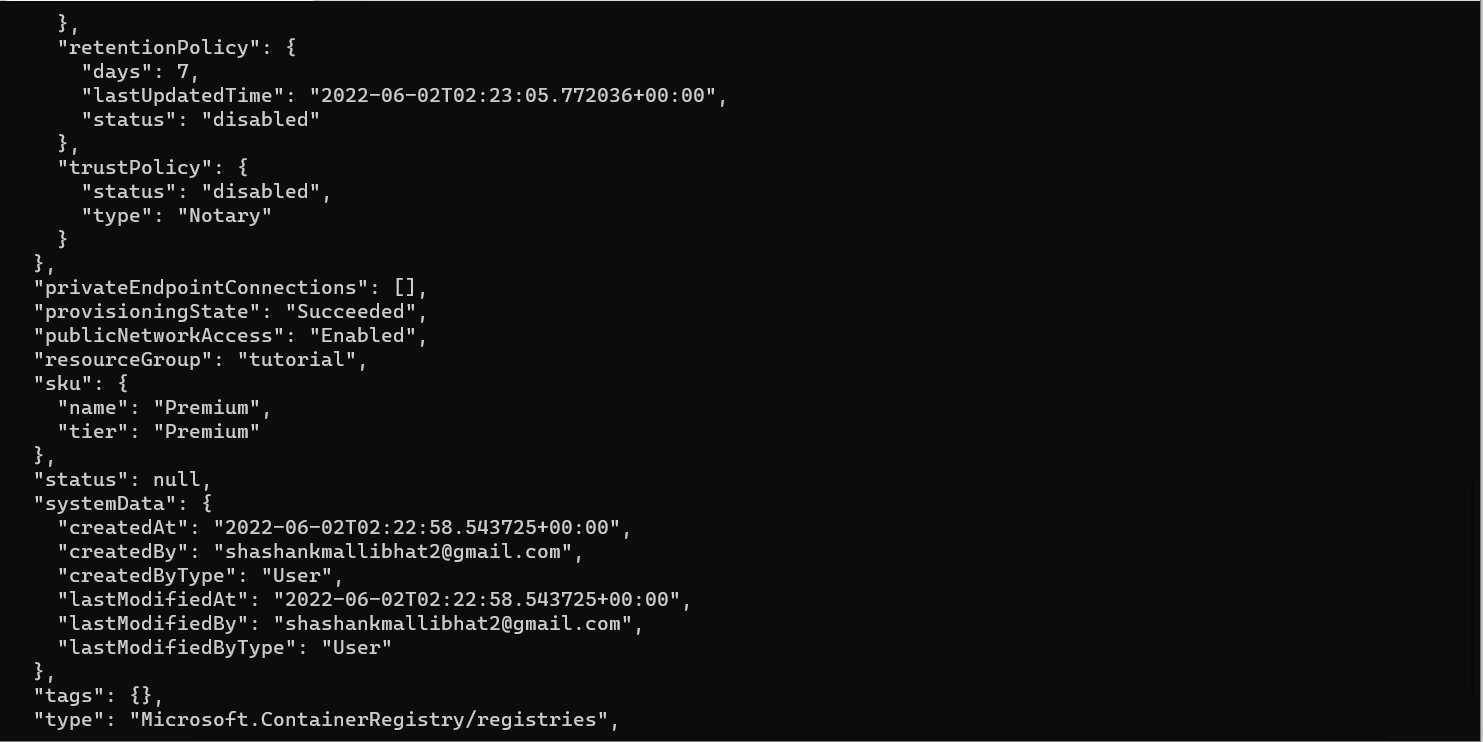
You will get the following output:

Now the registry has been created. Let’s now create a Docker file in our project so that we can use it to build an image.
  FROM nginx:alpine
  COPY . /usr/share/nginx/html
After this go to your command line login to your azure container registry so that azure cli gets to know which registry to use using the below command:
az acr login --name azuretutorialforvac
Usually, docker will be logged into docker hub because we push images to docker hub as it is open-source. But since we are using azure container registry which is a private registry we have to login to that account. You will get this login server url in the azure portal when you go to azure container registry. For this purpose, use the following command
docker login azuretutorialforvac.azurecr.io
You will be prompted for username and password. To get credentials go to azure portal, then go to your container registry and navigate to access keys in the left side bar and make admin-enabled to true. After that it will show you the credentials. Copy paste those to the prompt. There’s one more way to do this and that is through azure cli. The following commands will help you to do that.
  az acr update -n $ACR_NAME --admin-enabled true
  az acr credential show --name $ACR_NAME
After this you can build an image using docker build command. But one thing to keep in mind while giving the tag name to image in the command it should be as loginserverurl/nameforimage.
docker build -t azuretutorialforvac.azurecr.io/img:1 .
Once it is buit push the image to acr.
docker push azuretutorialforvac.azurecr.io/img:1
Once its done you can use the following command to verify.
az acr repository list --name $ACR_NAME --output table
The output will be:

As your image is present in the azure container registry you can use it to deploy it to azure container instance using following command
az container create --resource-group tutorial --name first-container-instance --image azuretutorailforvac.azurecr.io/img:1 --registry-login-server azuretutorialforvac.azurecr.io --ip-address Public --location <location> --registry-username [username] --registry-password [password]
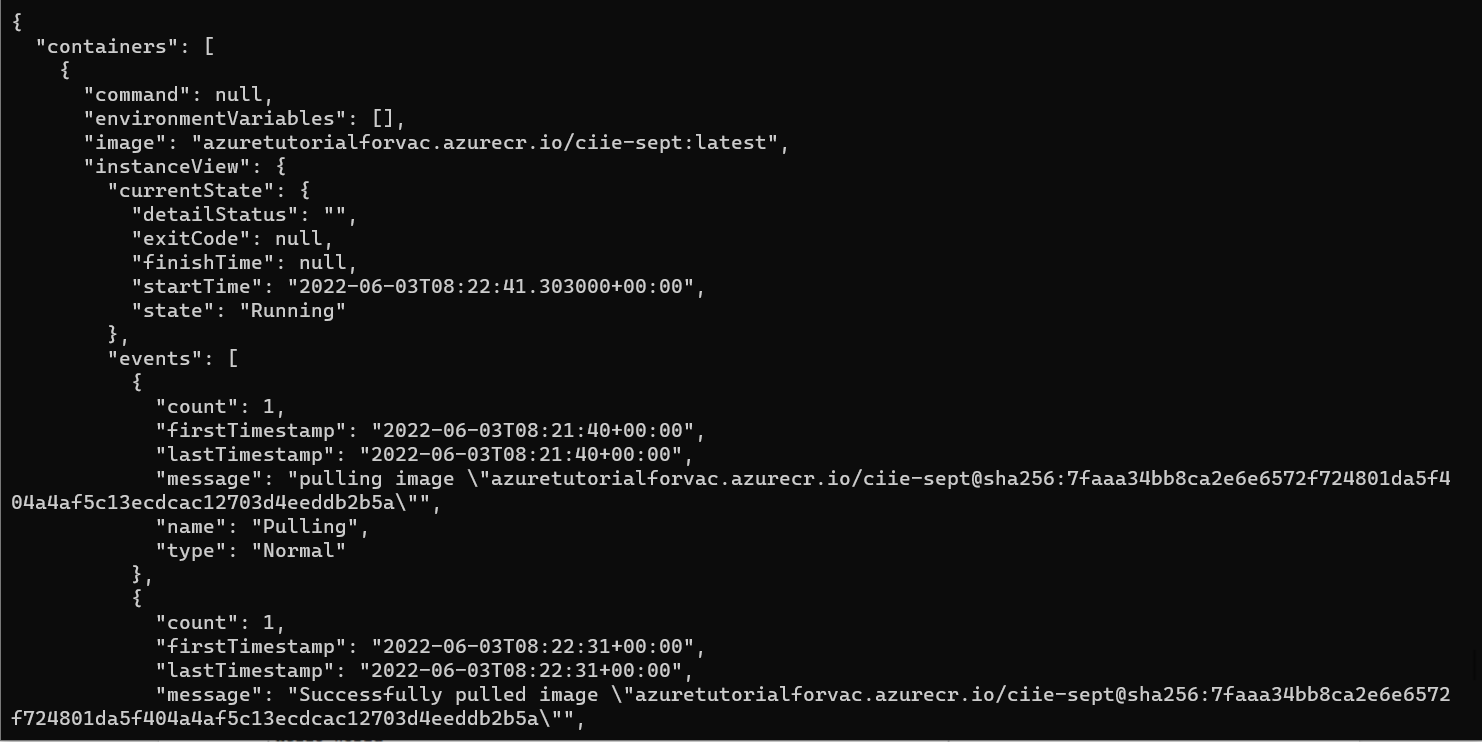
The output will be:
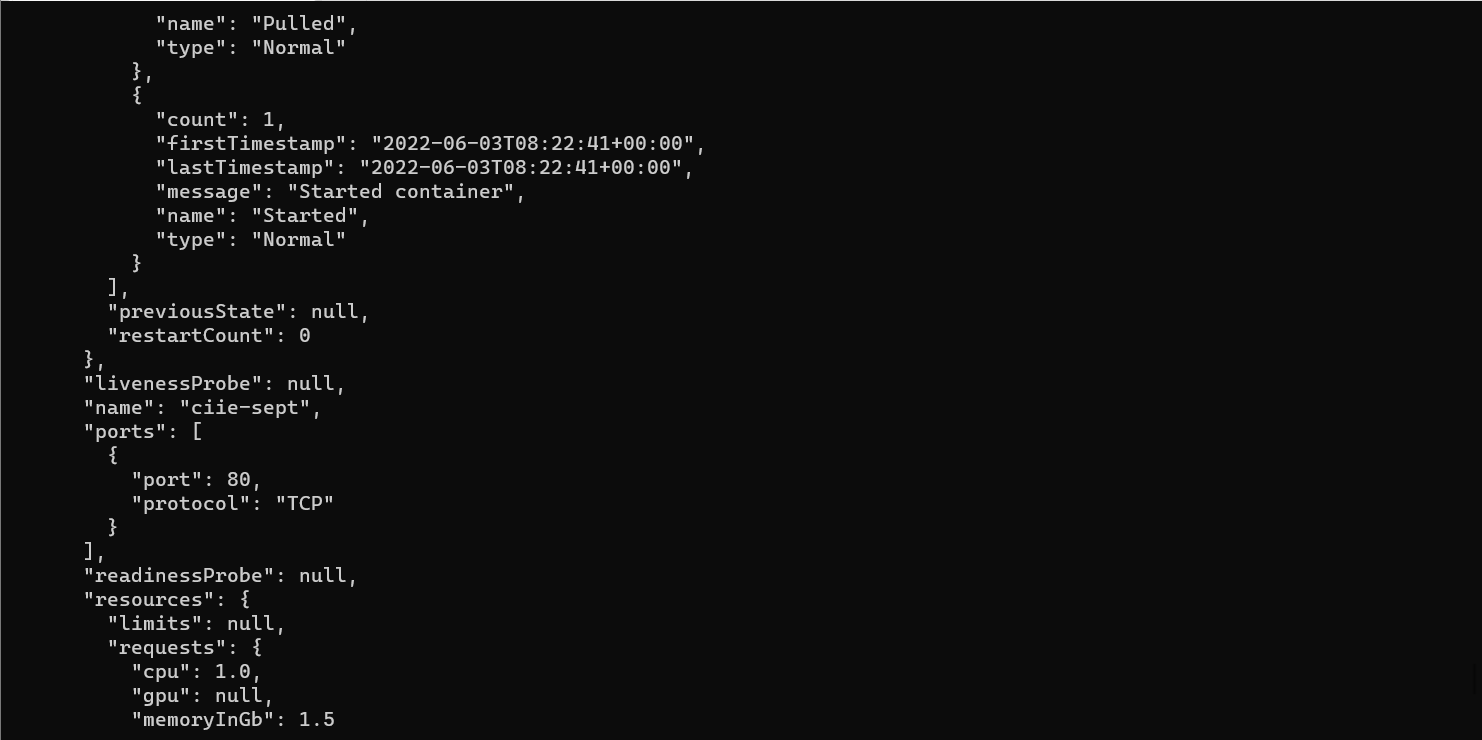
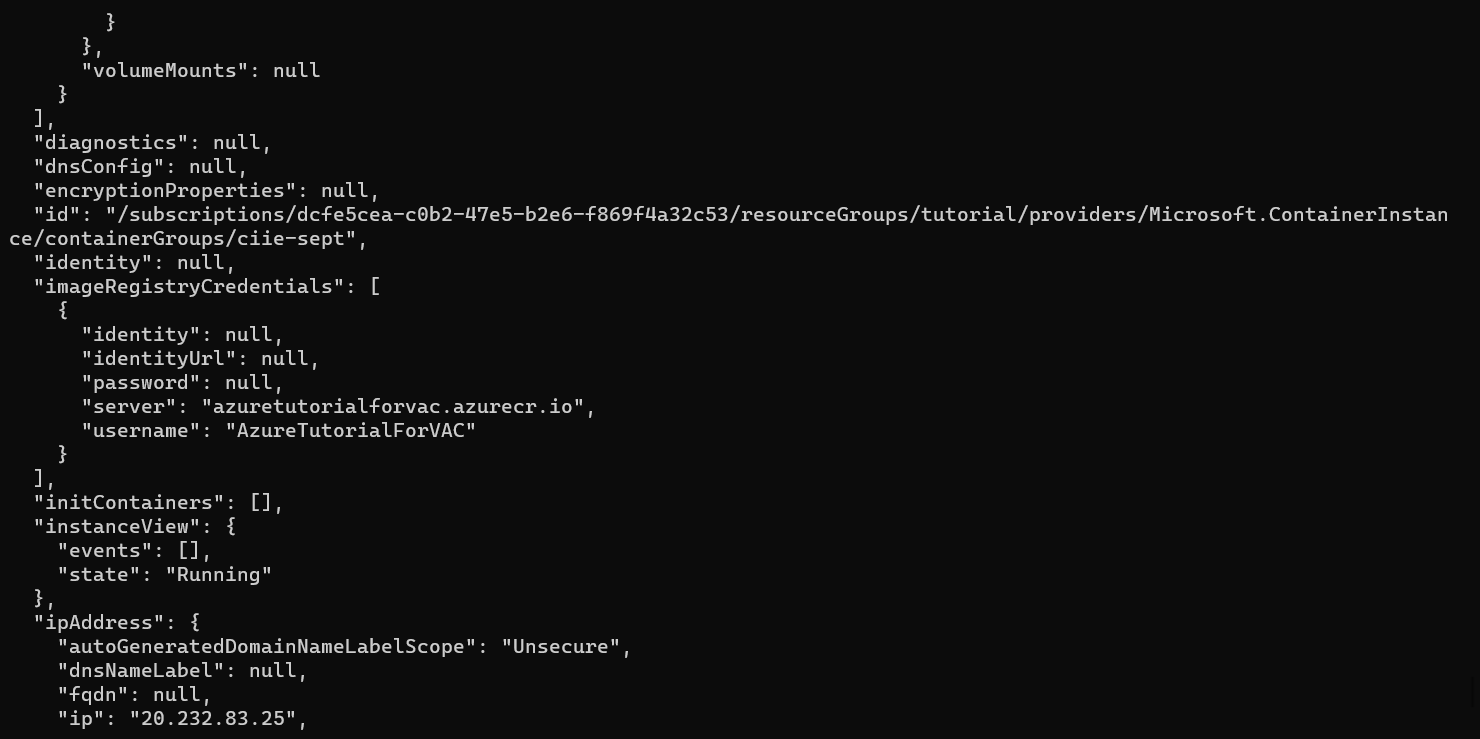

If you observe it clearly you can see that there is an IP address in that output, if you open that in browser you can see Hello world written on screen.
Congratulations
You have successfully deployed your webpage using azure container registry and container instances.
Thank you for reading. More blogs will be out soon.. If you like this blog then hit the like button and if you have any queries then ask them in comment section I'll be happy to answer.